
Know the boundaries of a whole-house repipe
The phrase “whole-house” can sound more comprehensive than the actual proposal. Supply piping is separate from drain, waste, and vent piping. A repipe does not necessarily include a sewer-line replacement, new fixtures, a water heater, or the underground service line between the meter and house.
The written scope should identify its starting point and endpoints. Does it begin at the home’s main shutoff? Are exterior hose connections included? What about the refrigerator supply, laundry connections, and an addition built after the original house?
This matters in a renovated home where old and newer plumbing may coexist. The objective is to know which lines will be new and which will remain, not merely to count bathrooms. KL Plumbing’s whole-house repiping service in Marietta is a useful starting point for discussing that scope.
How the work generally unfolds
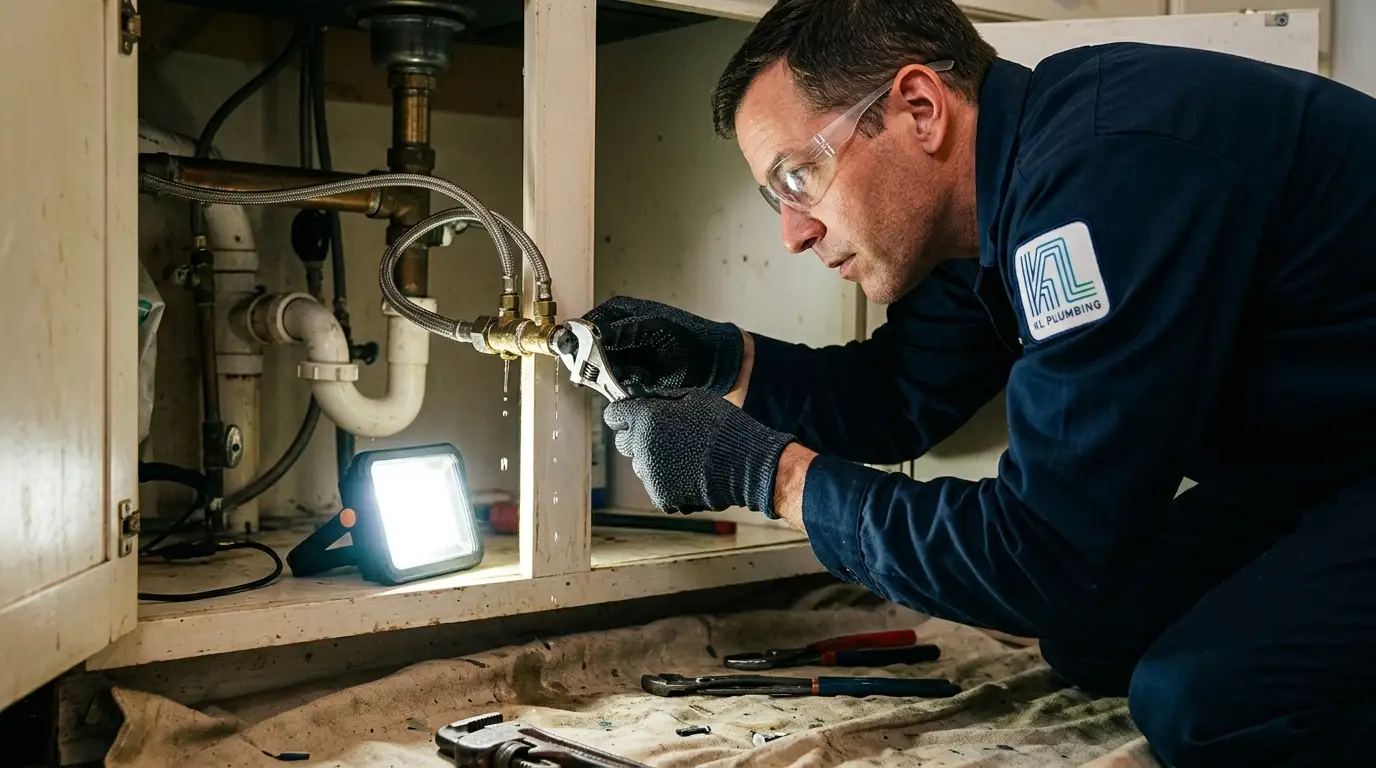
A typical project moves through assessment, planning, access, installation, testing, and restoration. The exact sequence depends on the building and the contractor’s plan.
The plumber first identifies the existing supply arrangement and possible routes for replacement lines. Accessible crawl spaces, basements, utility rooms, and unfinished areas can offer different routing options from finished walls and ceilings. A route that looks shortest on a floor plan may be difficult to reach or may conflict with other building systems.
Once the route is agreed, the crew opens the necessary access points, installs the specified piping and connections, and transitions fixtures to the new system. The proposal should explain how abandoned piping will be handled. Some inaccessible sections may remain physically in place after disconnection; that is different from leaving them active.
Testing and a final walkthrough follow installation. Ask how the contractor will check the new work, verify fixture operation, and address any required inspection before openings are closed.
Choosing materials involves more than the pipe’s name
Copper and approved plastic piping systems have different installation characteristics. The appropriate choice depends on the project, applicable requirements, routing, and the complete system of pipe, fittings, and connections.
Instead of choosing solely from a general “best material” list, ask what the contractor proposes for your home and why. The answer should cover the product system, connection method, support, protection where needed, and any conditions that affect installation.
Get the material specification in writing. “New plumbing” does not tell you whether two estimates include equivalent work. Product warranties and workmanship warranties also cover different things; request the actual terms rather than assuming a pipe warranty covers every possible repair expense.

Plan for water shutoffs and room access
Ask for a project-specific schedule that distinguishes installation from patching and painting. Those stages may involve different people and different appointment dates. Avoid planning around a generic promise that every home can be finished in one day.
Find out when the water will be unavailable, how much notice you will receive, and whether any fixtures can remain usable during part of the work. Discuss working from home, pets, children, mobility needs, and bathroom access before the crew arrives.
Clear the agreed work areas rather than moving everything in the house. Cabinets beneath sinks, the water-heater area, and planned access routes may need attention. Let the contractor identify where protection and clearance are necessary; do not cut openings yourself to save time.
Separate installation from finish restoration
The plumbing can be complete while the house still needs drywall, paint, trim, or other finish work. Ask who performs each stage and what “patching included” actually means. A patched opening may still require texture matching, primer, and paint.
For example, a proposal might include closing access holes but exclude repainting an entire wall. That is not automatically an unreasonable scope, but it should be clear before work begins. Photograph existing finishes and discuss how special surfaces, cabinetry, or tile affect the plan.
Also agree on how unexpected discoveries will be handled. A written change should explain the additional work, price, and schedule effect before you authorize it, except where immediate action is needed to address an urgent condition.